How Long Does It Take to Fit a Door? Door Installation Timeframes
If you’ve ever embarked on a home improvement project, you know that time is of the essence. When it comes to something as vital as a door installation, you want to be well-prepared and informed. The burning question on your mind might be, “How long does it take to fit a door?”
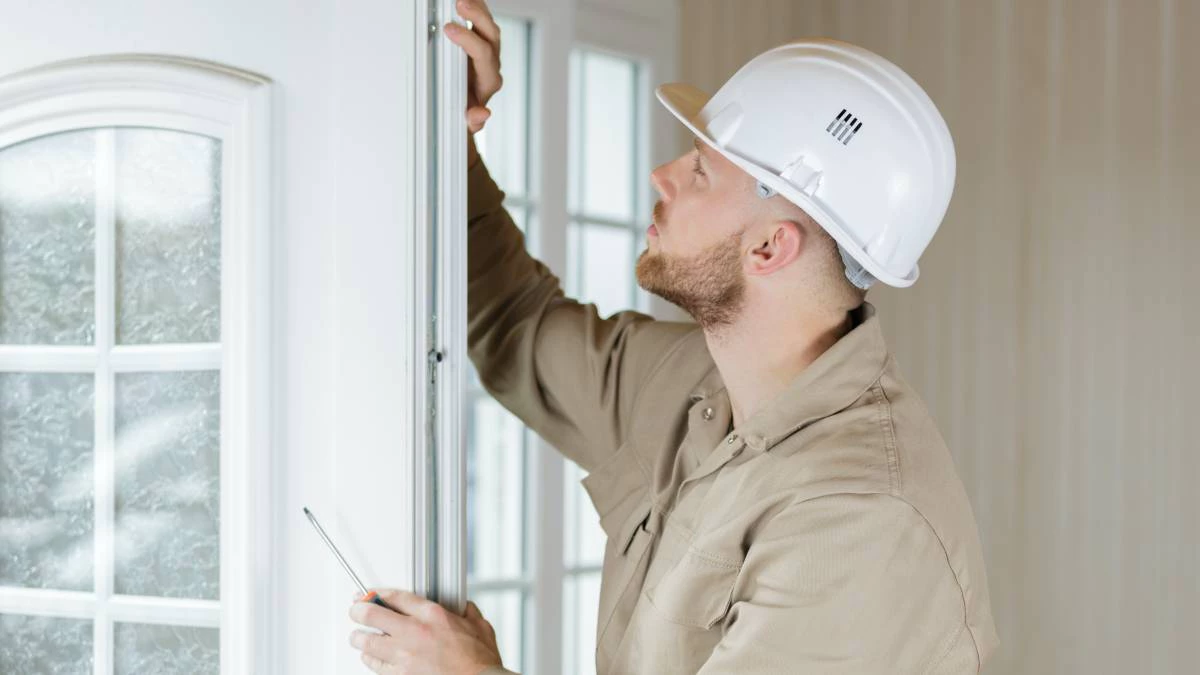
The time required to fit a door can indeed vary significantly, influenced by several crucial factors. The type of door, the installer’s experience, and the specific demands of the project all come into play. On average, a door installation typically takes around 2 to 3 hours to complete, offering a practical estimate for this common home improvement task
Now that you know how long door fitting takes, let’s get started and see how to maximize your time and money while improving the look and feel of your living area.
What Tools Are Needed To Hang A Door?

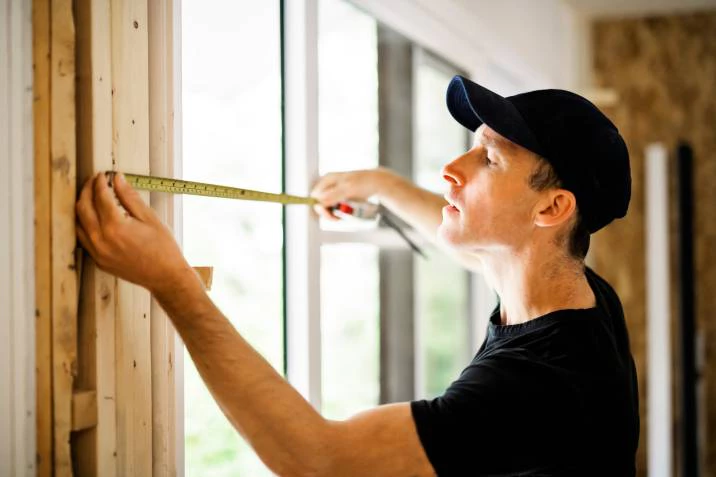
Tape Measure: A tape measure serves as your precision partner, enabling you to take accurate door measurements.
Sharp Pencil: This humble tool is indispensable for marking measurements and making crucial guidelines.
Wood Plane (Hand or Power): Smooth out imperfections and ensure your door sits perfectly with the help of a wood plane, available in both hand-operated and power versions.
Hardpoint Hand Saw: A reliable hand saw is vital for cutting timber with precision and finesse.
25 mm (1″) Chisel: A chisel is your go-to tool for creating recesses for hinges and locks.
Wooden Wedges: These handy wedges provide crucial support during the installation process, ensuring a stable fit.
Internal Door: Of course, your internal door is the centerpiece of the project.
Door Hinges: High-quality hinges that enable smooth door movement are a must.
Screws: Screws are the unsung heroes, holding everything together securely.
Hammer: A trusty hammer helps you drive in those screws and wedges with precision.
Drill: A drill is indispensable for creating holes and fastening components efficiently.
HSS Drill Bit: The high-speed steel (HSS) drill bit ensures clean and precise holes.
Workbench: A sturdy workbench provides a stable platform for your door installation.
Wooden Wedges: Additional wooden wedges may be required for fine-tuning and stability.
How Long Does It Take To Hang A Door: Factors To Consider
Type of Door: Standard Pre-Hung Door: Installing a pre-hung door (a door already attached to a frame) is generally faster than other types, as the frame is preassembled. This process can take around 2-3 hours.
Custom Door: If you have a custom-made door, it may require more time for precise fitting and adjustments.
Experience of the Installer: A skilled and experienced installer is likely to work more efficiently and complete the installation faster than an inexperienced individual.
Removal of Old Door: Removing an existing door can be relatively quick, but it depends on factors such as the condition of the old door, the frame, and the hardware. It typically takes around 1-2 hours.
Modifications and Adjustments: In addition, your door frame needs adjustments or modifications to fit the new door correctly, this can add time to the installation process.
Finishing and Hardware Installation: Adding hardware, locks, and other features to your door can take additional time, typically 30 minutes to an hour.
Painting or Staining: If your door needs finishing with paint or stain, the time required will depend on drying times and the number of coats needed. This can add several hours to the overall project and may require multiple days if drying time is a factor.
Complexity of the Project: If your door installation project involves multiple doors, intricate designs, sidelights, transoms, or other architectural features, it will naturally take longer.
Preparation and Measurement: Accurate measurements and preparation, such as leveling the door frame, are essential for a proper installation.
Cleanup: After the installation, there is often some cleanup work to do, including disposing of old materials and debris. This typically takes a short amount of time.
External Factors: Weather conditions, accessibility to the installation site, and the availability of tools and materials can all affect the time it takes to fit a door.
How to Measure a Door for a Perfect Fit
When measuring a door for replacement or a new installation, it’s essential to get it right. To make the process easy and accurate, follow these steps:
Step 1: Choose the Right Units
Use either inches/feet or millimeters, as these are the standard measurements used by door manufacturers. This will simplify the buying process.
Step 2: Measure the Door in the Frame
If the door is in the frame, ensure a consistent 3-4mm clearance on the sides and a 6mm clearance at the bottom. Tolerances may vary, especially for fire doors, so consult your supplier or check the provided information.
Step 3: Open the Door
Open the door, and measure its width, height, and depth on both the lock side and hinge side.
Step 4: Measuring the Door Frame
If you’re measuring the door frame without a door, measure the length and width, subtracting the clearance measurements. Don’t forget to note the depth.
How to Take Down a Door
Eliminating a door is often the simplest part of the door installation or replacement process. To get this done seamlessly, follow these steps:
Step 1: Hinges First
Begin with the hinges. Close the door until it latches, and then it’s time to tackle the hinges. For those hinges equipped with pins, use a screwdriver and a hammer to gently dislodge the pins. Tap upward until the pin releases. If your hinges lack pins, go ahead and unscrew the hinge plates from the door.
Step 2: Repeat for All Hinges
Apply this procedure to each hinge on the door, ensuring they’re all removed. Be mindful when taking the door off the frame to avoid any mishaps or injuries.
Step 3: Hinges on the Door
Proceed to remove the hinges from the door itself. Employ a suitable screwdriver to loosen the screws, allowing you to lift the plate away from the door.
Step 4: Hinges on the Door Frame
Lastly, execute the same process for the remaining hinges situated on the door frame. This will complete the removal of the door.
Installing an Internal Door – Step by Step
Fitting an internal door can be a manageable DIY project if you’re up for the task. To help you through the process, here’s a step-by-step guide:
Step 1: Acclimate the Door
Wooden doors can react to temperature changes, so allow your new door to adapt to your home’s environment before installation. This prevents unexpected changes in size.
Step 2: Position and Clearance
Place the door in its intended position within the frame. Ensure a 3mm clearance on the sides and the door’s center for smooth operation.
Step 3: Mark Hinge Positions
Mark the current hinge positions on the door’s hinge side with a pencil. Remove the door from the frame.
Step 4: Prepare for Hinge Installation
Then, place the hinges on the marks you made in the previous step. Outline the part of the hinge plate that attaches to the door with a pencil. Don’t forget to note the depth of the hinge plate by placing it on the door’s face and marking it.
Step 5: Chiseling
Also, using a sharp chisel and hammer, create indents within the pencil outlines. Then, use your chisel to remove excess wood for the hinges. Work vertically to shave off the wood in a controlled manner. Repeat for each hinge.
Step 6: Install Hinges
Further, drill holes for the hinges on the door and secure the hinge plates with screws. Make sure they are tightened securely.
Step 7: Reattach the Door
Moreover, place the door back in the frame, replicating the angle it will be at when opened to 90 degrees. Secure the top hinge plate’s bottom hole, then add a screw to the bottom hinge plate. Finally, place a second screw in the top hole of the top plate to support the door’s weight.
Step 8: Secure All Hinges
Finish securing all hinges by adding screws to any remaining holes and tightening them with a screwdriver.
Fitting Non-Standard Internal Doors
- For doors like bi-fold, sliding, or French doors, it’s advisable to consult a professional carpenter. These doors have unique fitting requirements that may demand special tools and expertise.
How to Install Door Handles

Installing door handles is the final touch in a door installation project. Here’s how to do it:
Step 1: Measure for Handle Height
Measure 100cm from the floor inside the door edge and mark it.
Step 2: Mark Handle Placement
Use the marking template provided with your handles to mark where the handle will sit and where screws are needed.
Step 3: Drill Holes
Use a drill to create holes for the spindle and barrel, which operate the handle and latch. Trace the faceplate and carve out a space for it with a chisel.
Step 4: Attach Faceplate
Screw the faceplate onto the side of the door.
Step 5: Install Striker Plate
Measure and mark the top and bottom positions of the striker plate. Drill a hole for the latch and carve out space for the plate with a chisel.
Step 6: Attach the Handle
Attach the handle to the door, ensuring it turns downwards on both sides. Test the handle’s operation and latch functionality.
FAQs
How long does it take to fit a bedroom door?
Fitting a bedroom door typically takes around 2 to 3 hours on average.
How long does it take to remove and fit a door?
The duration to remove and fit a door can vary but often falls within the range of 3 to 4 hours.
How long does a new door take?
The time to install a new door depends on factors such as the door type and complexity, but it generally takes around 2 to 3 hours.
Is it easy to fit a door?
Fitting a door can be relatively straightforward, especially for those with some DIY experience. However, it may require careful measurements and attention to detail.
Is installing a new door difficult?
Installing a new door can be manageable with the right tools and knowledge. It’s not overly difficult but does require precision and patience for a successful outcome.
Final Words
In summary, the time it takes to fit a door can vary due to factors like the type of door, the installer’s experience, and the project’s complexity. While it typically takes a few hours to a day, the key is to ensure the job is done accurately. Whether you choose to DIY or hire a professional, precision is crucial for a perfect fit and an improved living space.


