Why Do Air Mattresses Get Holes? Uncovering the Culprits
Air mattresses are renowned for their convenience and versatility, but at times, they can pose an unexpected dilemma – punctures and leaks. This predicament can disrupt your peaceful slumber or deflate your plans for a comfortable night’s rest. Understanding why air mattresses develop holes is essential for both troubleshooting and prevention.
However, Sharp objects such as needles or pet claws, can cause holes in air mattresses. They may become worn down and develop tiny holes with use over time. If you exaggerate them excessively, If they’re poorly made with flimsy seams or inexpensive materials, storing them in areas with sharp objects or extremely hot or cold temperatures may also weaken the material and create holes.
In this brief guide, you’ll uncover the common culprits behind these annoying punctures, so you can enjoy uninterrupted sleep on your air mattress.
Identifying the Root Causes of Air Mattress Deflation:
When your air mattress starts losing air, it can disrupt your sleep and overall comfort. Pinpointing the underlying reasons for this issue is crucial for prevention. Let’s delve into the various factors to consider:
Tiny holes: The existence of tiny holes is the most obvious reason for its deflation. Smaller sobs can be surprisingly inconspicuous, but larger ones are obvious. These are the outcomes of the mattress being subjected to constant pressure, which finally causes rips or straining and eventually gives rise to these mysterious holes.
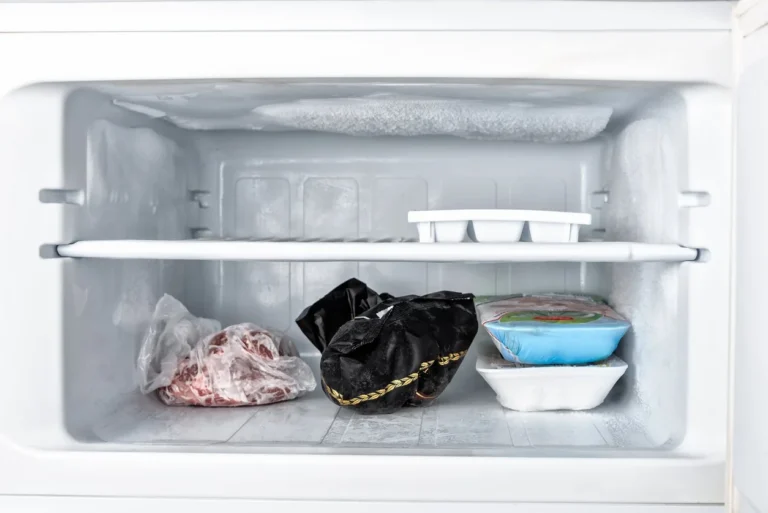
Room Temperature Fluctuations: Room temperature fluctuations can play a pivotal role in altering the air pressure within the mattress. Similar to how cold temperatures affect tire pressure, they are susceptible to these atmospheric variations. Conversely, a high ambient temperature can render the PVC material supple, causing it to stretch and lose it.
Exceeding Weight Limits: Every air mattress comes with predetermined weight limits. Exceeding these limits can elongate the mattress, culminating in potential leaks. It’s essential to gauge both your body weight and that of your sleeping companion to ensure compliance with these weight restrictions.
Sitting or Bouncing on the Mattress: Frequent sitting or bouncing on it concentrates pressure on specific regions, fostering material expansion and the emergence of punctures. Opting for reclining positions, rather than sitting, offers even weight distribution.
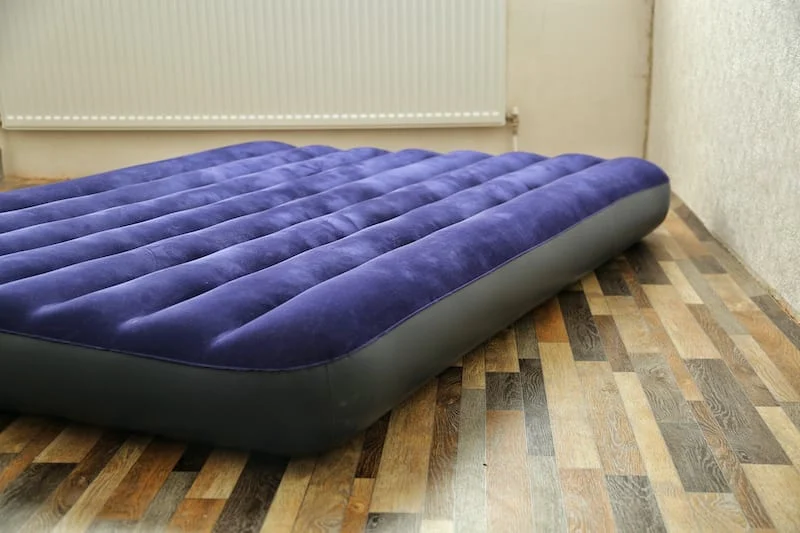
Immediate Utilization: In the case of a new one, an immediate inflation-and-sleep approach can hinder the mattress’s natural expansion, risking damage. Allowing it to remain inflated but unused for around two days facilitates fabric stretching and proper air settling.
Proper Storage Protocols: Repeated cycles of inflation and deflation can do it. Adequate storage, entailing complete deflation and meticulous folding, serves as a safeguard against potential harm. It is imperative to store the air mattress out of reach of pets, and children, and away from sharp objects.
Pet Influence: The inadvertent claw punctures of pets pose a substantial risk to air mattress integrity. Restricting pet access to areas where the air mattress is located mitigates the likelihood of such damage.
Child Activities: The uninhibited play and active engagement of children on it can exert undue stress, leading to damage. Instructing kids on careful usage and maintaining supervision can effectively avert this issue.
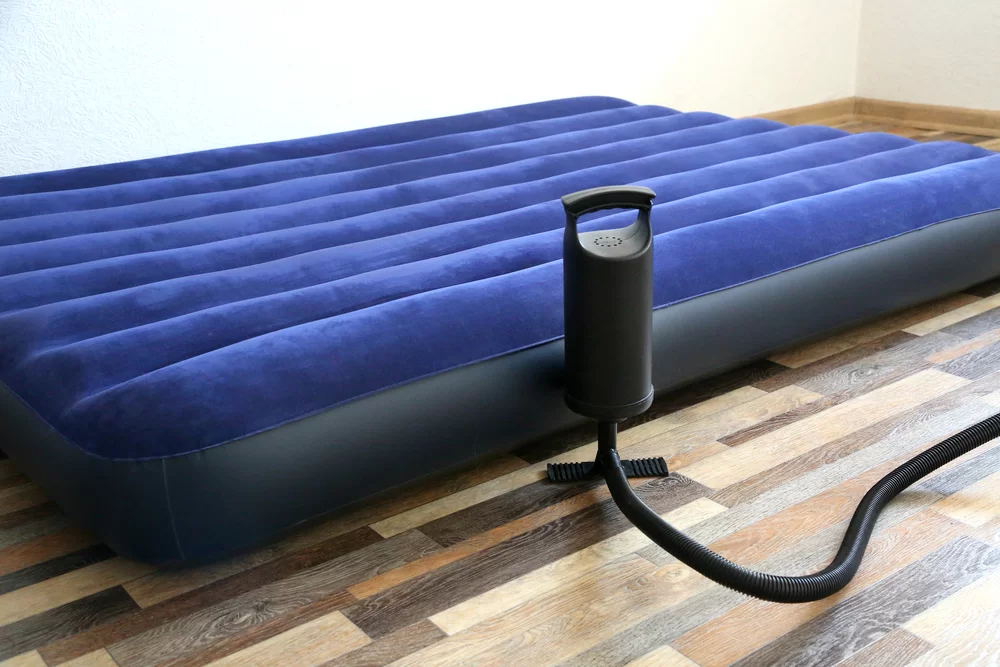
Avoiding Overinflation: Excessive inflation can induce undue strain on the seams, resulting in tears and leaks. It is prudent to inflate the mattress to approximately 90% of its maximum capacity to safeguard against this predicament.
Repairing a Leak in an Air Mattress: Finding and Patching
If you’ve noticed your air mattress losing air, it’s essential to locate and repair the leak. Here’s a step-by-step guide to help you through the process:
Finding the Leak:
Inflate the mattress: To begin, fully inflate the air mattress using the provided air pump. This step is crucial as it makes it easier to detect the leak. Keep it inflated while searching for the leak. If it begins to lose air, reinflate it to maintain adequate pressure, making the leak more noticeable.
Check the valve: Ensure the air valve is tightly closed, feeling around for any escaping air. Examine the valve stem and surrounding seams for tears or damage. If the valve is damaged, it’s often best to replace the entire mattress.
Inspect the bottom: Many leaks occur on the mattress’s bottom, often caused by objects on the ground. Stand the mattress on its side and lean it against a wall to examine the bottom for punctures or tears.
Listen for hissing: Stand the mattress on its side and move your ear across the surface about 2-3 inches away. Start with the bottom and then check the sides and top. Listen for the hissing sound of escaping air.
Feel the air: Run the back of your hand about 2 inches away from the mattress’s surface. Gently press the mattress to increase air pressure around the leak. Move your hand across the surface until you feel a steady stream of air. You can make this process more effective by wetting your hand before running it over the mattress, as escaping air will make it feel cooler.
Utilize the Dish Soap Method: An effective and popular technique for identifying leaks is the dish soap method. All you need is liquid dish soap and a spray bottle filled with warm water. Create a soapy solution by mixing the soap and water in the bottle, and shaking it thoroughly.
Moreover, inflate the air mattress as much as possible without overinflating it. Start by spraying the soapy solution over the mattress’s surface, commencing from the valve area, and working your way toward the seams and edges. The soap will generate bubbles at any leak points. Mark the locations of these bubbles with a permanent marker or duct tape.
Using a Patch Kit:
Deflate the mattress: Open the valve to allow all the air to escape. It’s crucial to ensure the mattress is fully deflated before applying a patch.
Prepare the surface: Use 120-grit sandpaper to smooth out the area around the hole gently. For holes on the top with a fuzzy texture, sand away the texture for better patch adhesion.
Clean with isopropyl alcohol: Use isopropyl alcohol on a clean cloth to wipe away any dust, dirt, or debris around the hole. Afterward, pat the area dry with paper towels and allow it to air-dry for a few minutes.
Cut a patch: Cut a patch from a vinyl patch kit, ensuring it extends about 1 inch (2.5 cm) past the hole’s edges. Round the corners of the patch to prevent peeling.
Apply the patch: If the patch has adhesive backing, peel it and press it firmly over the hole. If it doesn’t, apply rubber cement to the back of the patch and around the hole, then press it down securely.
Weight and dry: Place a 10 lb (4.5 kg) weight on the patch for 6-8 hours to allow the adhesive to set properly. Ensure the mattress remains deflated during this time.
Check for leaks: Inflate the mattress and listen for escaping air near the patch. Leave the mattress inflated overnight to confirm that no further air is escaping.
DIY Temporary Patches:
Duct tape: For a quick fix, cover the hole with a piece of duct tape, ensuring it’s about 1 inch (2.5 cm) larger than the hole. Press it down firmly, and add additional strips along the edges for added protection.
Hot glue gun: Repair a tear in the seam with a hot glue gun, but be cautious about temperature settings. Ensure the torn section lays flat before applying the hot glue. Allow it to dry for 5-10 minutes.
Super glue: For small holes, apply a small dab of super glue directly onto the hole’s surface. Let it dry for at least 4 hours before reusing the mattress.
Flex Seal Tape: Cut a piece of Flex Tape to extend past the edges of the leak by at least 1 inch (2.5 cm). Smooth it over the hole, allowing it to set for about 15 minutes before reinflating the mattress.
FAQs
What causes holes in an air mattress?
Air mattress holes can result from punctures due to sharp objects, stretching over time, or manufacturing defects.
What can stop a hole in an air mattress?
Using a patch kit or sealant specifically designed for air mattresses is an effective way to stop a hole and restore its functionality.
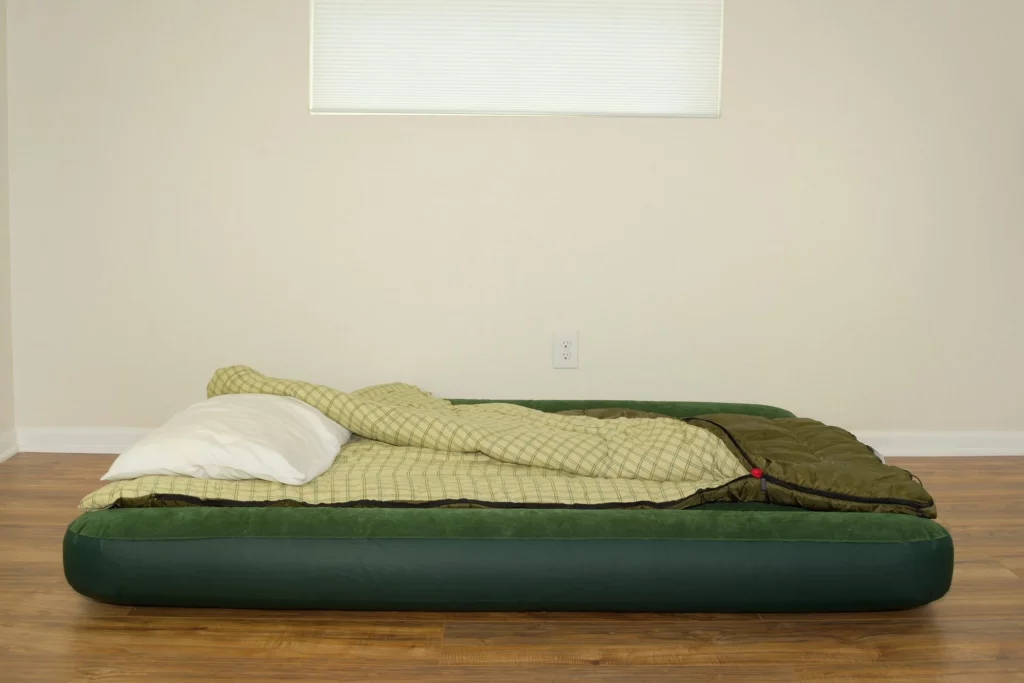
Is it OK to sleep on an air mattress every night?
No, While it’s fine for short-term use or occasional guests, long-term nightly use might lead to wear and reduced comfort. Consider a permanent mattress for daily sleep.
How long should an air mattress last?
The lifespan varies, but with proper care, a high-quality air mattress can last several years. Cheaper models may have a shorter lifespan.
Can you fix a big hole in an air mattress?
Yes,Fixing a big hole can be challenging, but it’s possible with a patch kit specifically designed for larger tears or seeking professional repair services.
How much weight can an air mattress hold?
Weight limits vary, but most air mattresses can support a range of 300 to 600 pounds, depending on the size and design. Check the manufacturer’s recommendations for your specific model.
Final Words
In conclusion, air mattresses can develop holes due to a combination of factors, ranging from external influences such as sharp objects and improper storage conditions to internal factors like overinflation and manufacturing defects.
Over time, wear and tear can also contribute to hole formation. Recognizing these various causes is crucial for both preventing and addressing leaks, ensuring the longevity and comfort of your air mattress. Regular maintenance, proper storage, and careful use can help mitigate the risk of holes, extending the life and utility of these versatile bedding options.